Pages

Saturday, March 8, 2014

Worm Cocoon Nursery

Here is the new home for my worm cocoons.  Finally got to the store and got a 3 gallon Rubbermaid bin.  Ventilation holes are just on the sides and no drain holes.

The nursery is kept in my indoor garden (see below) to keep the temperature warmer to encourage them to hatch so I can increase my squirm faster.


How Big Are Worm Cocoons

The cocoon is just under the dime and a baby worm is underneath the penny.

Friday, March 7, 2014

Meet My Worm Freezer


This is my worm freezer in the garage.  The bottom shelf is the pureed food in gallon size zip lock bags.  We collect our scraps in a zip lock bag, which then gets frozen. At one point, we had so many bags that they wouldn't all fit into the freezer, which was a bit of a problem in the summer.

Pureeing allowed us to fit four times more food in the freezer and still leaves the top shelf free for other stuff. Freezing and chopping the food means the worms can consume the food faster, which is key for an indoor bin because you don't want the food to sit.  It should be consumed quickly to minimize the opportunities for bugs to congregate.

As you can see, one of the bags developed a leak and it took me a while to find the problem one.  In the meantime, the leak meant the freezer and refrigerator didn't smell very good.  But a cup of baking soda on the top shelf took the smell away right away.

Sunday, March 2, 2014

My Worm Bin

Indoor Rubbermaid Worm Bin

This is my indoor Rubbermaid worm bin.  It doesn't have drain holes but it does have a lot of ventilation holes drilled on all sides of the bin as you can see from the above photo.

Indoor Worm Bin
The black is the landscaping tarp that was hot glued over the ventilation holes.

The outside of the bin has landscaping tarp hot glued around the holes. Not to prevent the worms from escaping but to make sure that spiders or centipedes don't get in the bin.

Emergency Exits
In case of emergency (famine, drought, overcrowding) passengers seated closest to emergency exits will act quickly and unpredictably to lead the squirm in search of food, water and wide open spaces. Because no one is trained in emergency evacuation, it's every worm for itself in trying to cram as many worms as possible in this small size handle and trying to drop from two small holes in order to fight for the opportunity to lead the squirm into the light.


Inside the bin is a burlap bag that I purchased from the local nursery for $.99.  I put it in the bin dry and it absorbs some of the moisture that collects on the lid.  And the worms LOVE it.  They love crawling through the burlap and eating it.  It's take about six months in one bin for them to render it shapeless.  I figure in another 6 months it will be completely eaten.

Worm bin spores

My bins generate a lot of moisture and every couple of weeks starts to look white a few areas.   Lately I've had a few spores growing too. When that happens, I leave the lid off the bin for a few days and it drys out. I will also add egg cartons over or underneath the burlap to help dry it out.


Egg cartons in the indoor worm bin

How do you control moisture in your worm bin?

Cocoon Bin

Check out the adolescent hanging on my finger in the bottom right corner
I've been slowing starting some seeds indoors and making my own potting mix.  I hadn't planned on making my own potting mix but if that's what I want to do, I need A LOT more vermicompost than what my worms are making.  Which means I need more worms.  I can't purchase them for another 1-2 months unless I can find a local vendor, and I haven't run into many people that compost with worms.  It's too cold to ship here for another 1-2 months.

To hatch as many cocoons as possible, I need to provide the most optimum bedding conditions. To do that, the cocoons should be harvested separately. This will allow me to provide a warmer temperature of about 80 degrees, which is ideal for red wigglers and European night crawlers cocoons. Normally the worm bin likes temperatures from 60-80 degrees. But if it's too cool, a cocoon can hibernate for several years.  I want to provide conditions that will ensure all viable cocoons will hatch to increase my worms and vermicompost.    

Soil Blocks
I made the potting mix here with 4 cups vermicompost, 4 cups peat moss and 2-3 cups of perlite.  In just the 4 cups of vermicompost, I pulled out at least 50 baby worms.  And this was in my completed vermicompost bin, from all the cocoons that were still in the bin.  Let me know if you want to know how I made the soil blocks.  So easy and incredibly convenient that I don't have to keep buying or saving containers. 


My husband graciously agreed to help me pull cocoons out for an hour last night.  I say graciously because not only is this NOT his thing, it's the last thing he would ever want to do.  But he did it for me.  What a keeper!

Harvesting
We starting harvesting the cocoons but piling on a cardboard flat. Eventually, we just started picking through the bin.  Cocoons are usually found near the food and my food is always put at the bottom of the bin.  So that bin got some great aeration last night. 

I didn't keep count but I think we pulled about about 50+ cocoons.  We didn't have a chance to get to the store to get a 10 gallon Rubbermaid container to make a permanent home so this is the temporary worm motel.  I added some existing bedding from one of my bins as well as a few rotting strawberries. 

Cocoons
Did I miss any? 

Tonight I transferred the cocoons to their new home and I was pleasantly surprised to see one of the cocoons had already hatched.  I'll try to get a photo op with the new little guy.   

Temporary Worm Motel


Tuesday, February 25, 2014

The First Five Days

..... the worms lived by day on the covered patio and by night in the middle of my kitchen, uncovered, with the light on.  Light is painful to the worms so this is how they are trained to stay in the bin.  Future generations are born in the bin so they don't need to be taught this.

I remember one night we went out and left the worms in the kitchen.  Despite my best assurances to my husband, yes, I was a little anxious and desperately praying I wouldn't come home to 1,000 worms exploring my cupboards.  Yes, I did manage to avoid that.  In all, I think a few worms, like 5, decided to take a stroll around but they were right by the bin on the floor in the morning.  No where near cupboard, food, counters....

After five days, the worms stayed permanently on the patio.  I left the patio light on a few more nights and they did well. I had some stragglers escaping a few larger scale evacuations (maybe 25 worms) but that had nothing to do with the light. 

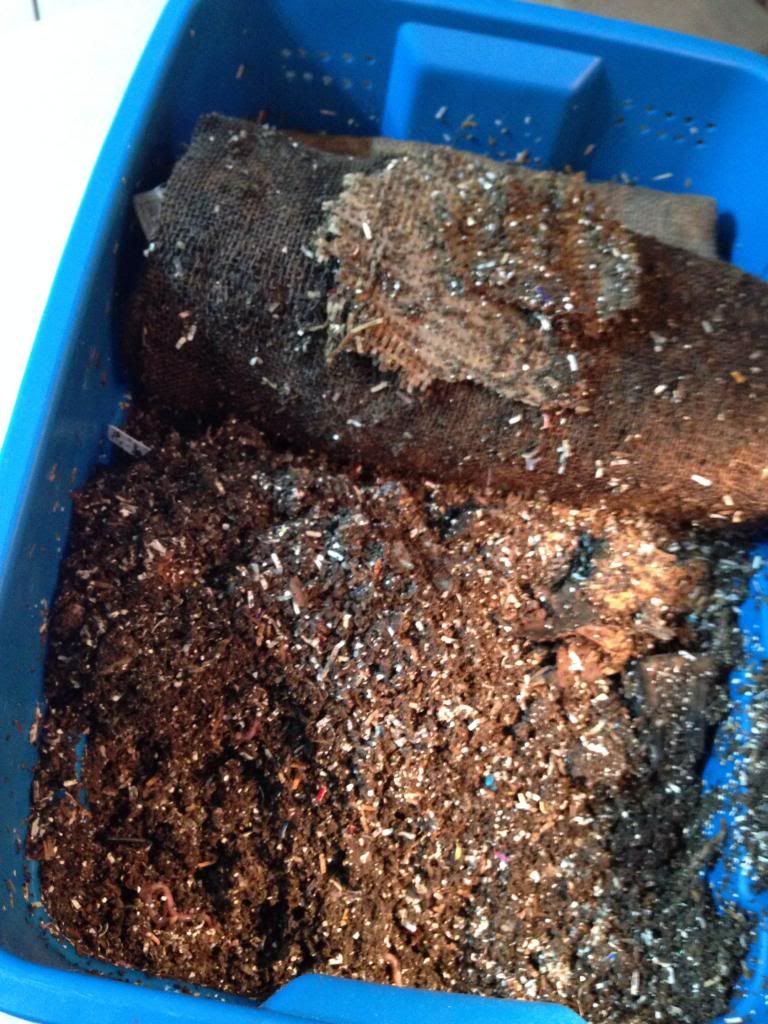
I didn't season the bin when I set it up and did not add a little dirt so it was a pretty sterile bin with only the few microbes that come with them.  Not really enough for a new farm so the natives were restless.  Had I researched a little more, I would have had my bin prepared at least a few days before the worms arrived and it would have been a different story.  

As a new worm farmer, it was trial and error to try and pinpoint the reason the worms were scouting out new digs. Reasons for this could be they weren't light trained, bit is too wet, don't like the food, ph level off.  

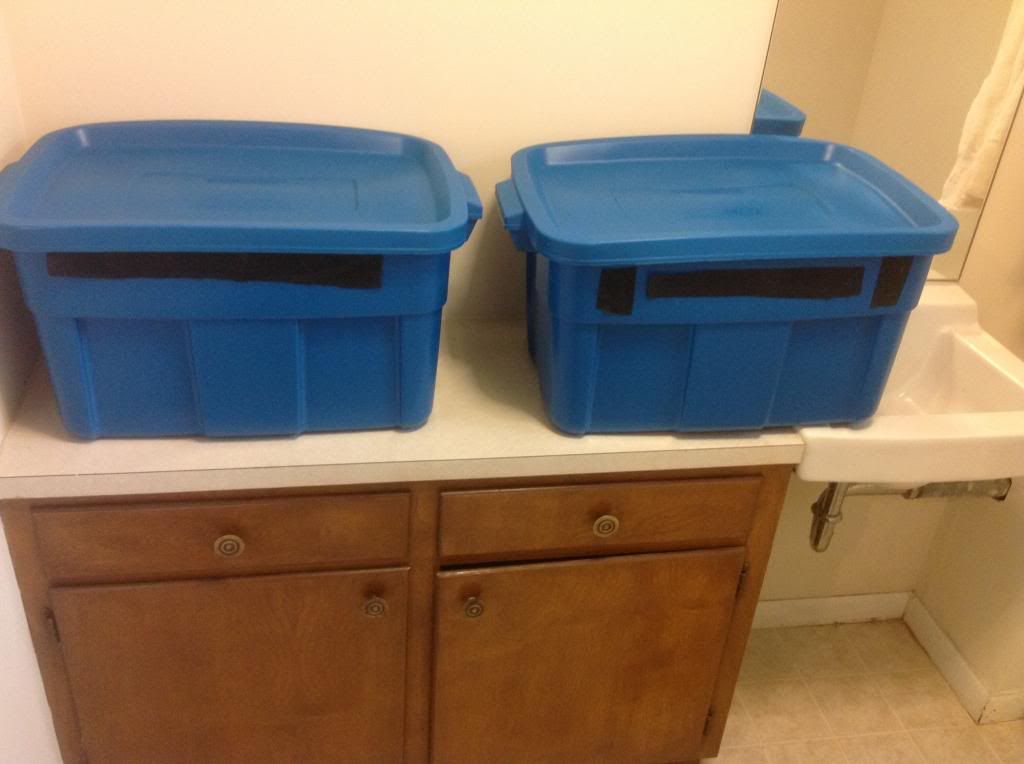
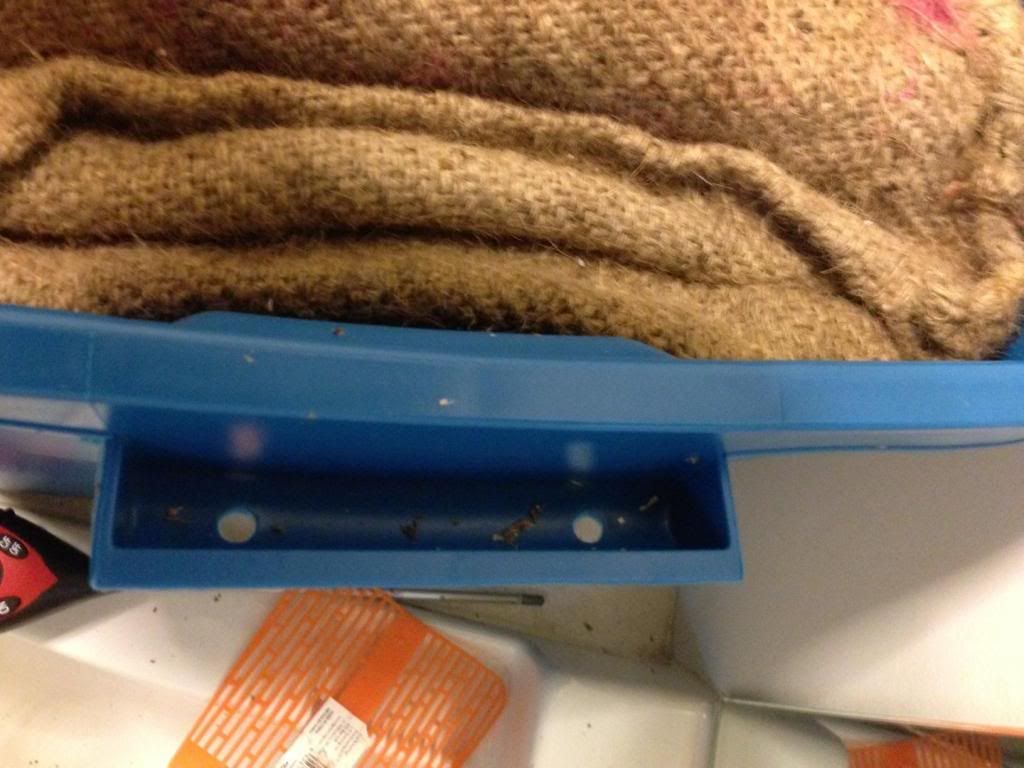
1.  Too wet - this was pretty easy to do when you have a bin with drain holes. 

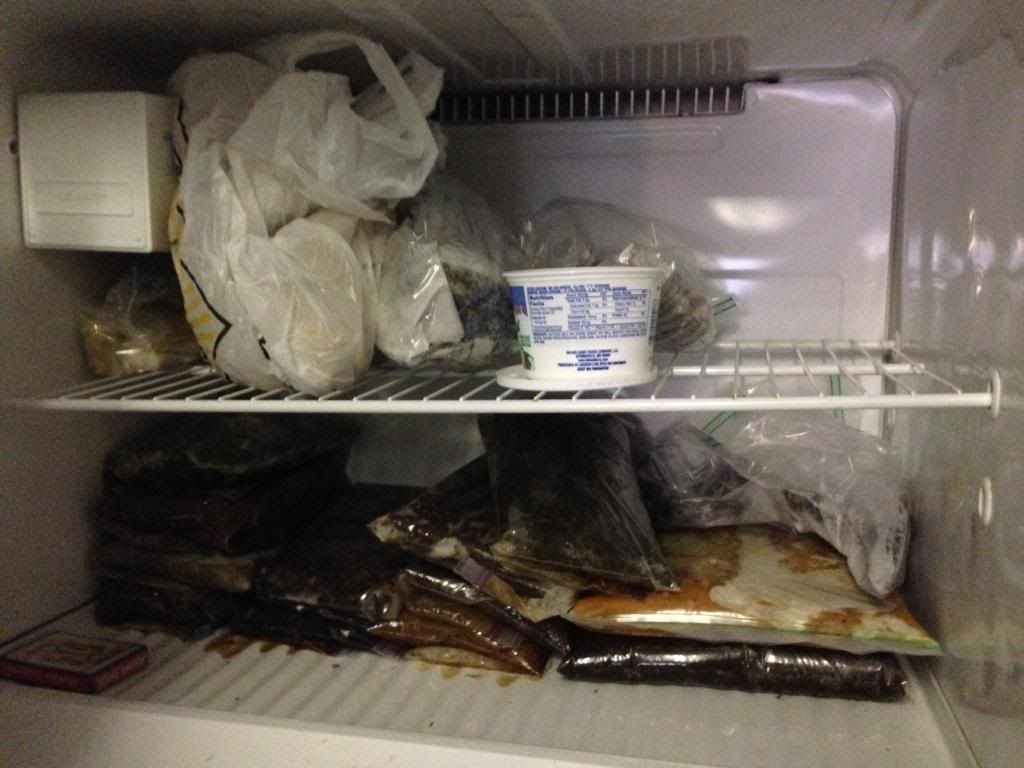
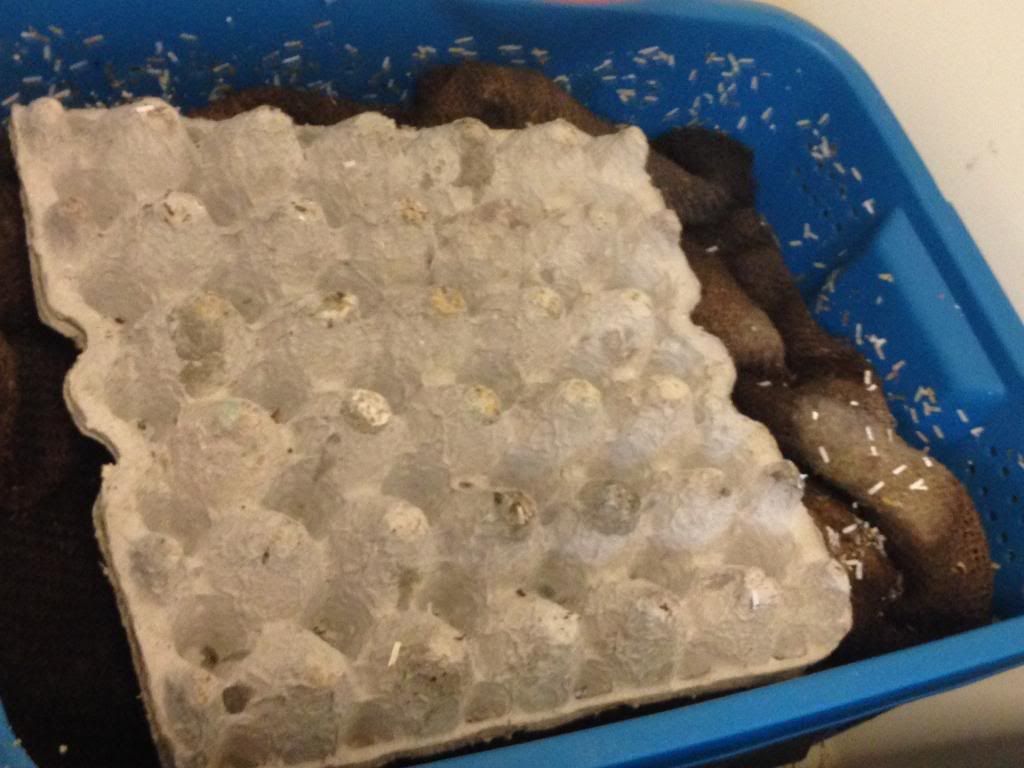
2.  Food - I was not pureeing the food, just freezing it and giving it a few days to ripen before adding. Only once did I determine the problem was the food and it was pretty obvious.  There was a terrible stench from the bin and so it was easy to remove the madly molded onion that NO ONE was around.  Believe it or not, your bin isn't supposed to smell.  It smells like fresh dirt, like planting season.

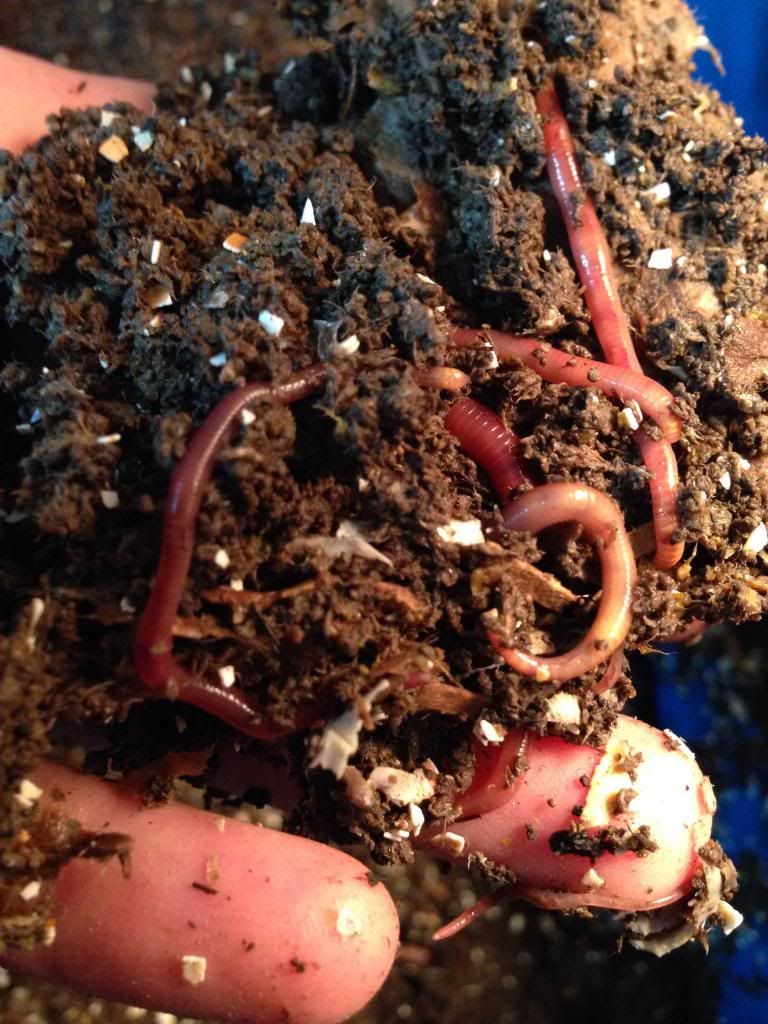
3.  Bad bin conditions - I didn't see a lot of mites in the bin and no other new bugs so I rules this out. 

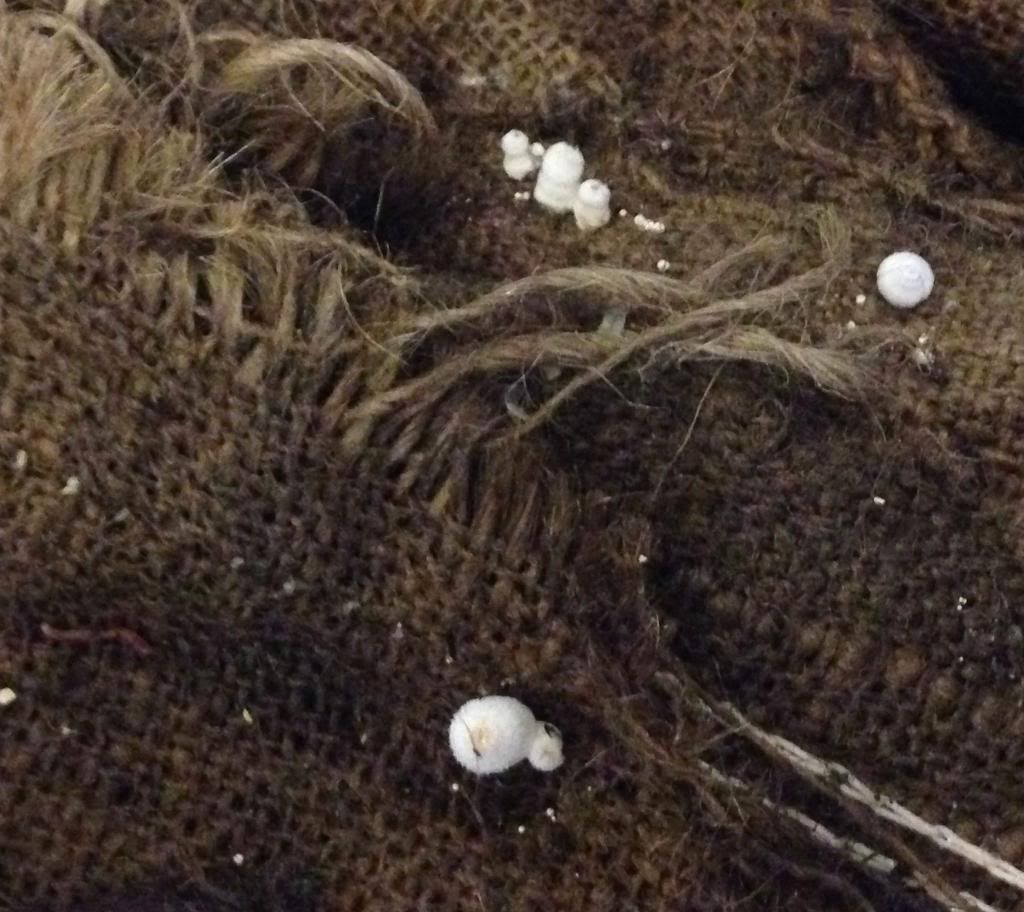
4.  Ph Level - This was the only thing I could think of so I purchased a 4 way meter and boy was my ph level off.  I think it was 3.5 -4.  Really should be about 6.5-7.  So garden lime was purchased and added every week until the PH was correct.  I've also added fireplace ash in lieu of lime so save those ashes.  Now, it's maintained by adding ground eggshells.  Be sure to check out your bin the day after adding ground eggshells.  Huge party in the shells going on!

Authored by Connie Watts

How I Became A Worm Farmer

I started worm farming May 2013 because my outdoor barrel composter wasn't processing fast enough. Translation: I couldn't figure out how to get my bin hot enough, consistently, for it to process our waste. Believe it or not, we started out outdoor composter May 2012 and it STILL WASN'T DONE!  What was I doing wrong?

What I did decide is I needed to stop adding waste to the composter but I couldn't bring myself to just throw it away.  I needed to figure out an easier way to compost until I could figure out my outdoor composter.

Much to my husband's dismay, worms were ordered.  I actually think I ordered the worms and THEN told him about it.  He's a real handy guy and will jump in and do just about anything but worms aren't really one of his favorites.

My first order was for 1,000 red wigglers the small but mighty worm and best composting worm.  I made an an outside 18 gallon rubber maid worm bin.  The bin sat uncovered in my kitchen for the first five days (Did I mention what a great husband I have?) with the light on so they would learn to stay in the bin.  From there, they went out on our covered patio.

A month later I realized we had more food than 1,000 worms could handle.  So I ordered 1,000 more but this time I bought European Night Crawlers so I'd have my own stock of fishing worms.  The following month I decided to add more and I found a local guy and purchased 1,000 more Red Wigglers. From this stock I took about 100 worms and started an in-ground doggy worm bin to handle the waste from my two little dogs.

Authored by Connie Watts