 |
| Indoor Rubbermaid Worm Bin |
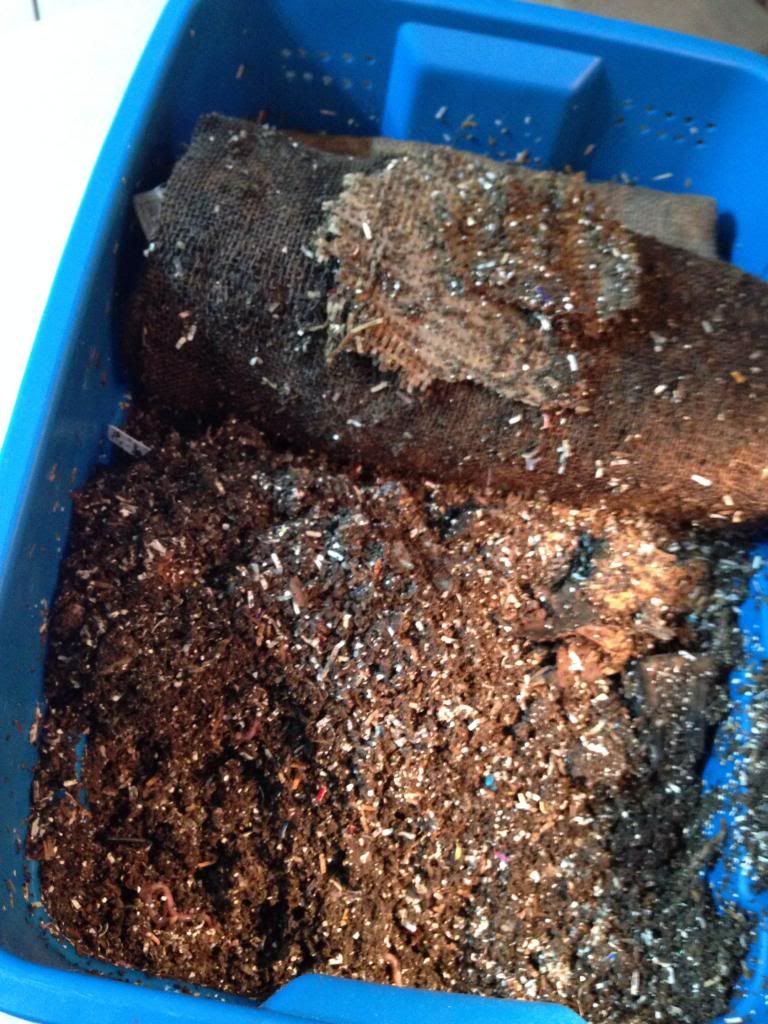
This is my indoor Rubbermaid worm bin. It doesn't have drain holes but it does have a lot of ventilation holes drilled on all sides of the bin as you can see from the above photo.
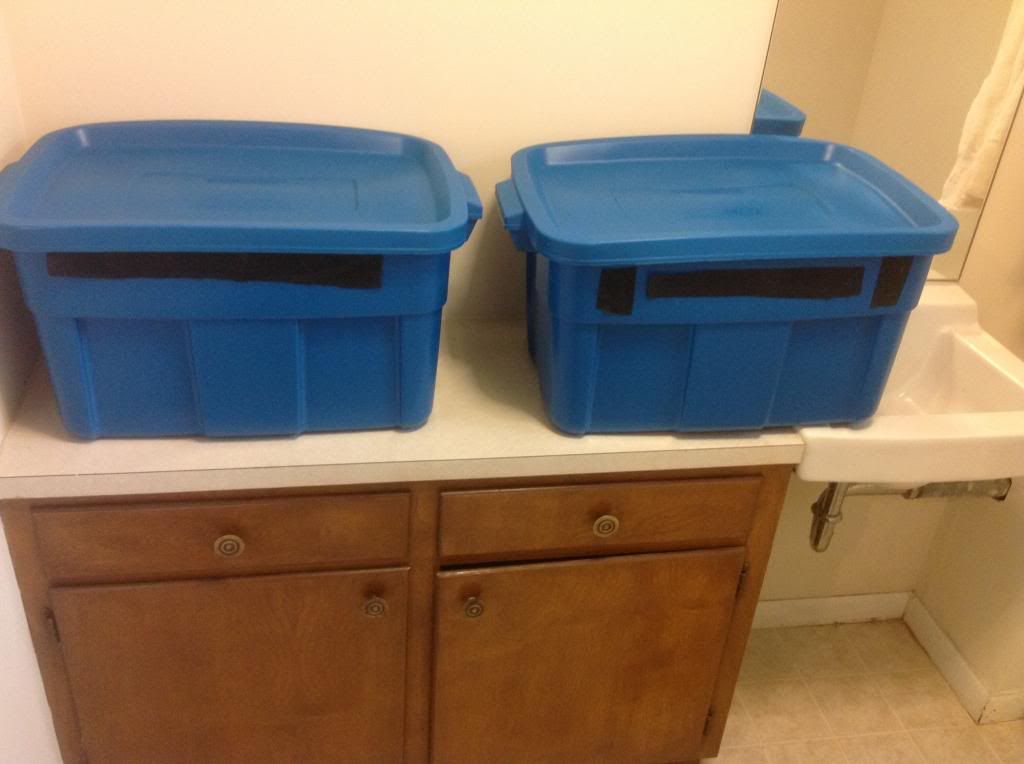 |
| Indoor Worm Bin The black is the landscaping tarp that was hot glued over the ventilation holes. |
The outside of the bin has landscaping tarp hot glued around the holes. Not to prevent the worms from escaping but to make sure that spiders or centipedes don't get in the bin.
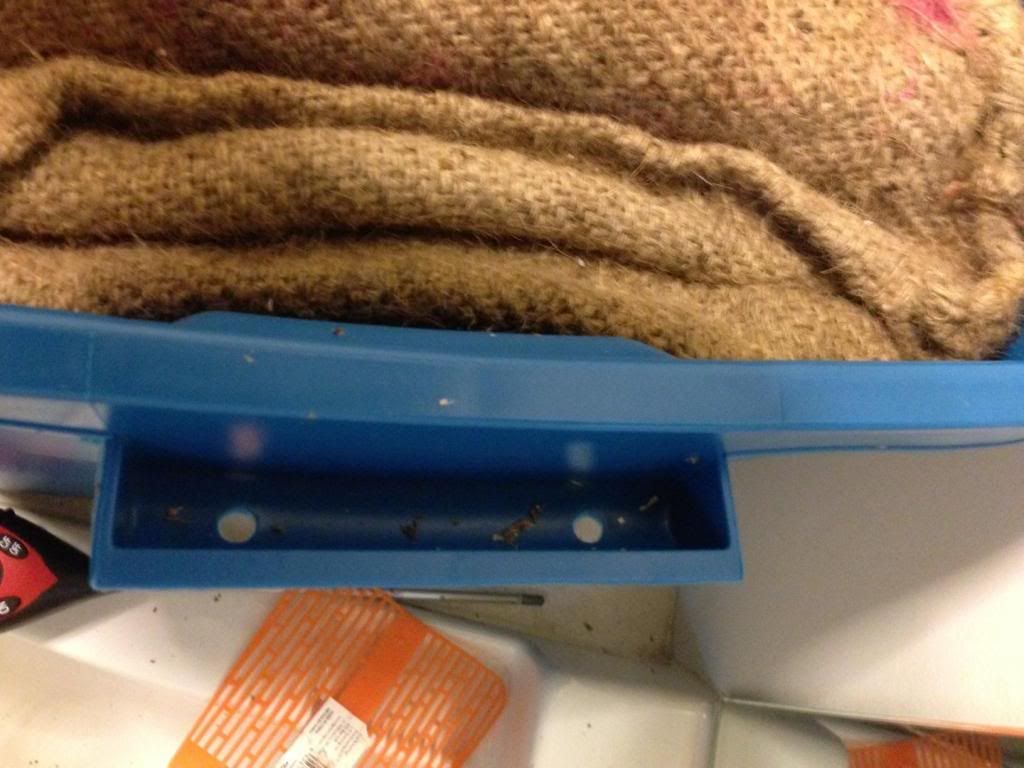 |
| Emergency Exits In case of emergency (famine, drought, overcrowding) passengers seated closest to emergency exits will act quickly and unpredictably to lead the squirm in search of food, water and wide open spaces. Because no one is trained in emergency evacuation, it's every worm for itself in trying to cram as many worms as possible in this small size handle and trying to drop from two small holes in order to fight for the opportunity to lead the squirm into the light. |
Inside the bin is a burlap bag that I purchased from the local nursery for $.99. I put it in the bin dry and it absorbs some of the moisture that collects on the lid. And the worms LOVE it. They love crawling through the burlap and eating it. It's take about six months in one bin for them to render it shapeless. I figure in another 6 months it will be completely eaten.
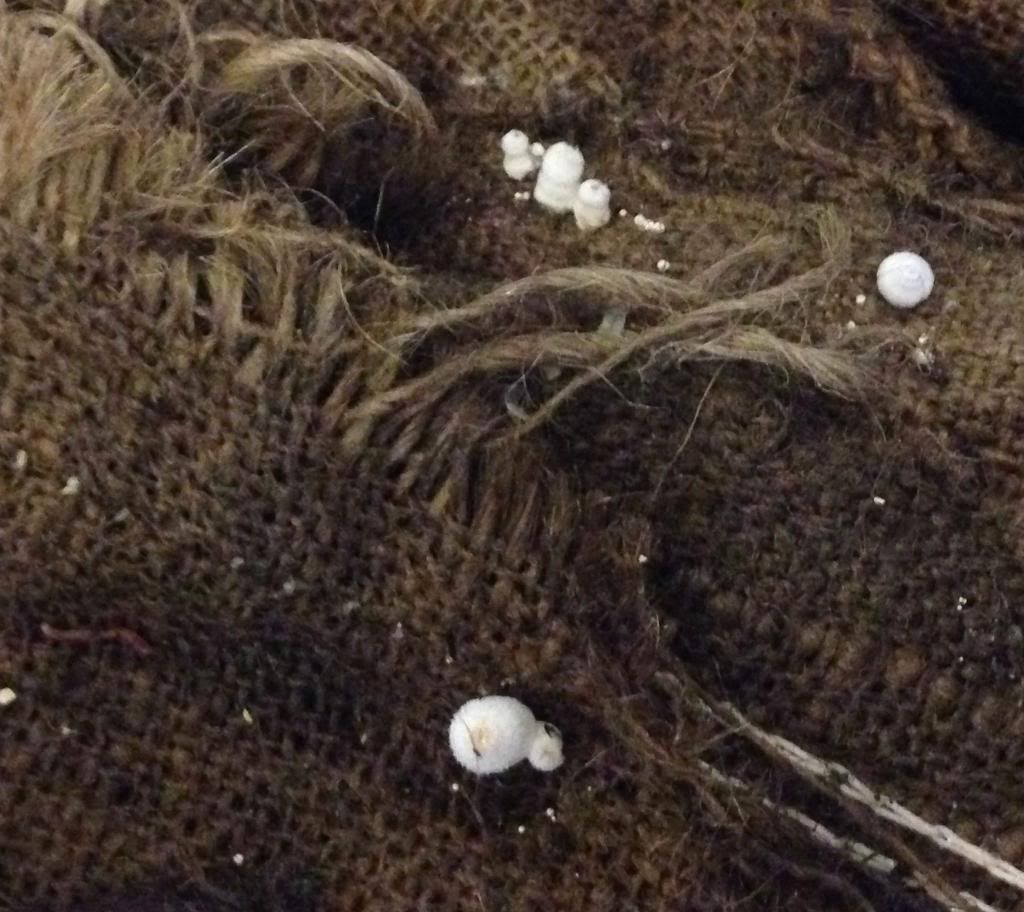 |
| Worm bin spores |
My bins generate a lot of moisture and every couple of weeks starts to look white a few areas. Lately I've had a few spores growing too. When that happens, I leave the lid off the bin for a few days and it drys out. I will also add egg cartons over or underneath the burlap to help dry it out.
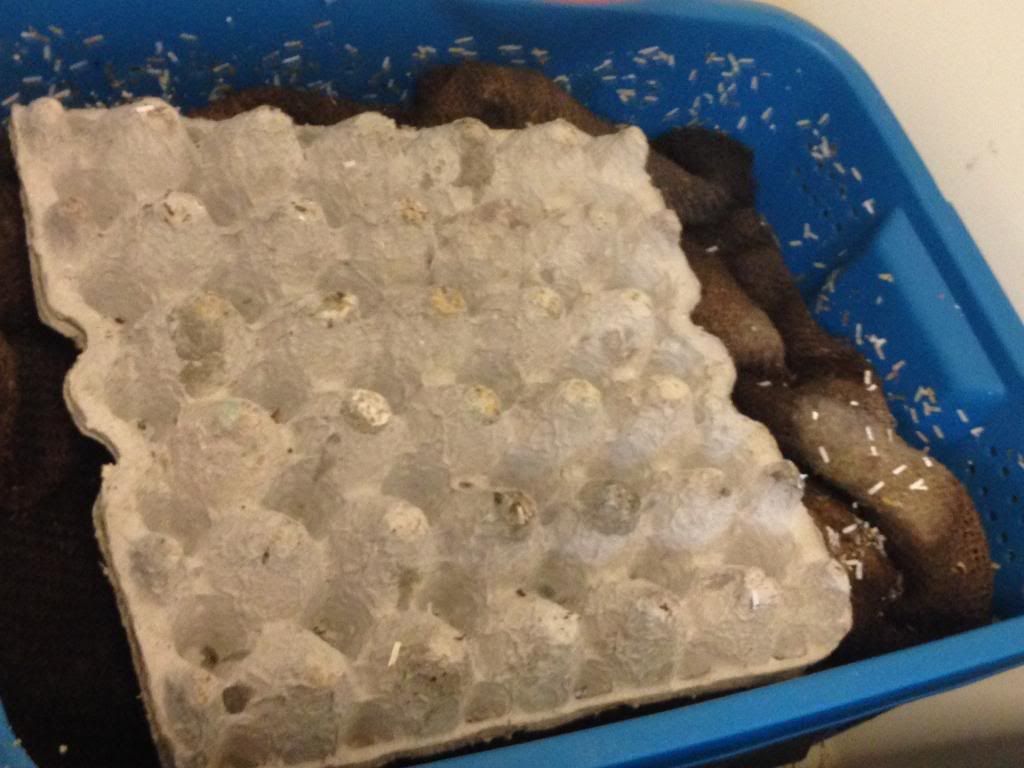 |
| Egg cartons in the indoor worm bin |
How do you control moisture in your worm bin?
No comments:
Post a Comment